
thank you so so so so so much for taking the time to make this video. I am a wedding videographer and just bought the zoom H4N and was so frustrated with constant distortion when plugged into the dJ Board for a line out of board in into the H4N. I bought the attenuator and used your set up and it worked like a charm.

Thank you RAVKAN. This was very helpful and well produced. I subscribed! Looking forward to your other video creations.

By far the best tutorial I’ve seen on this. Thanks for showing the whole set up including the mixing board half. Most videos have been just showing how to use the H4N.
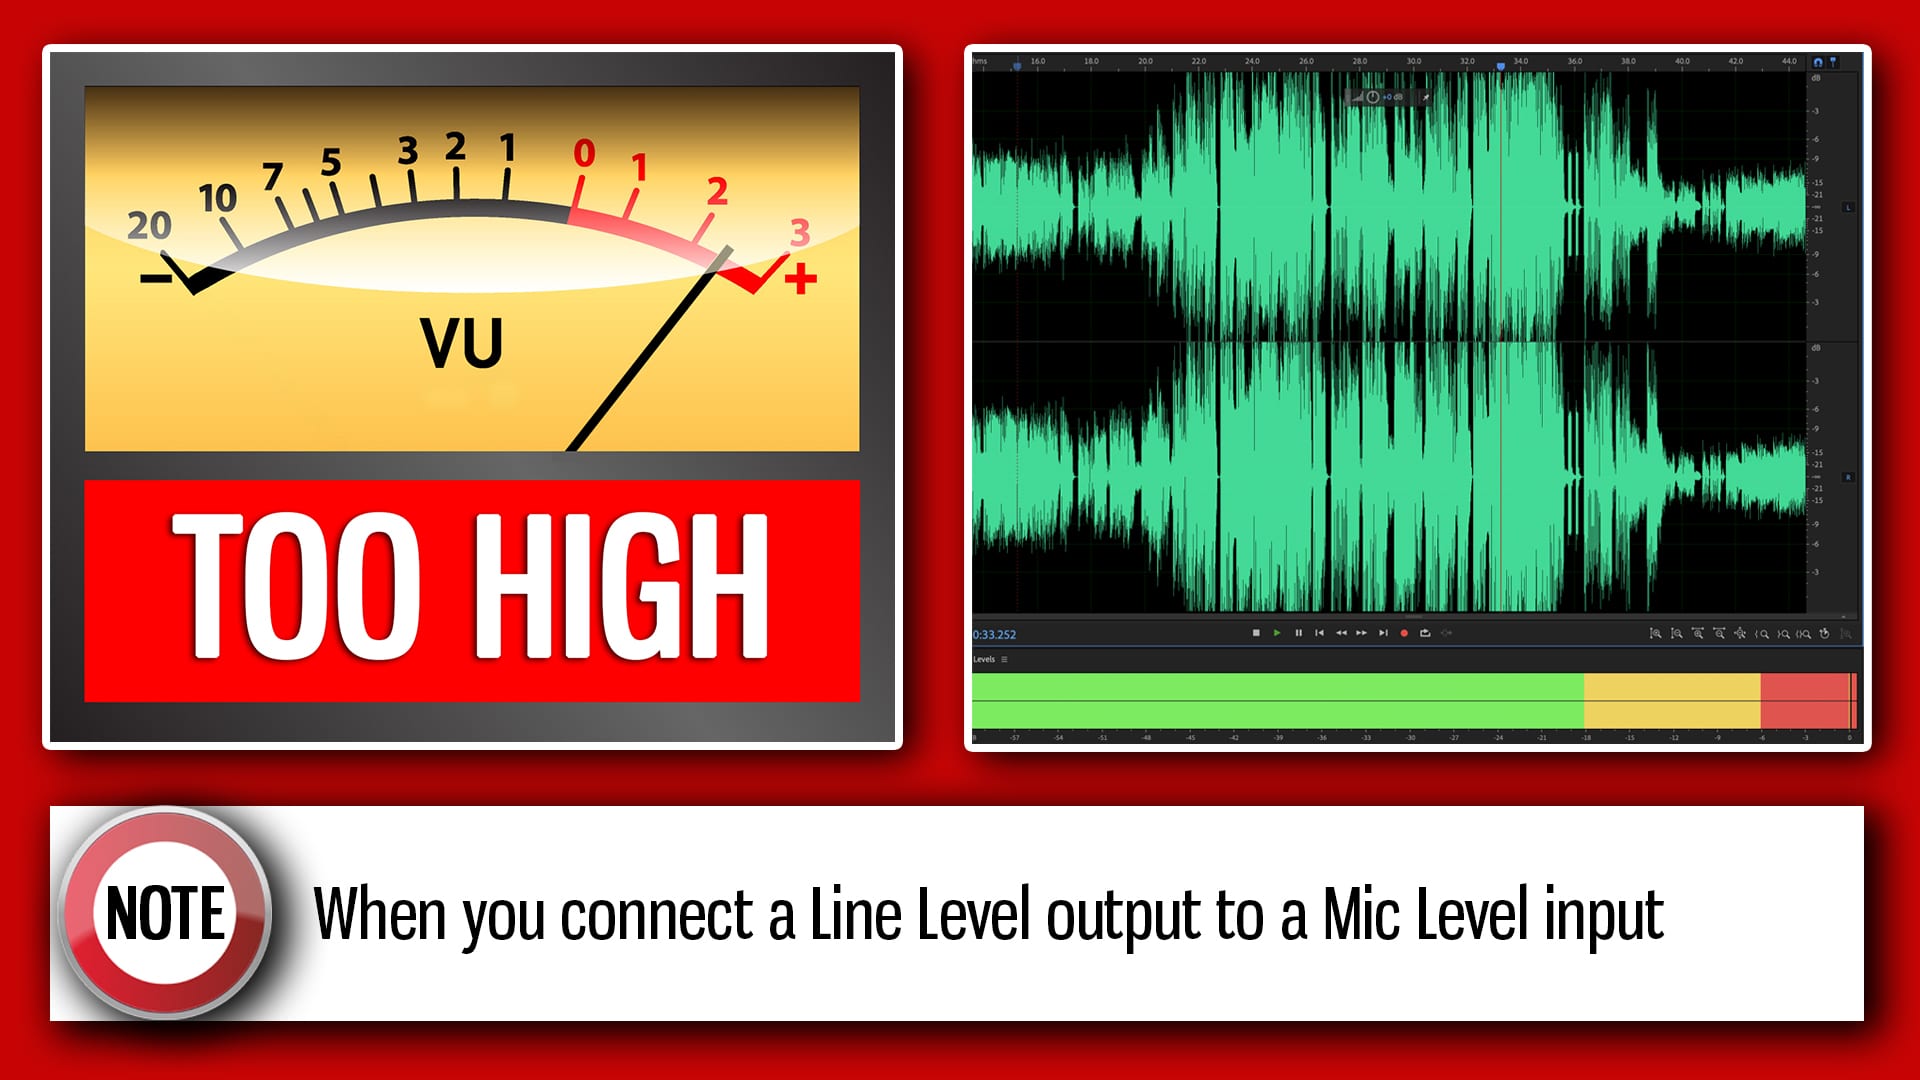
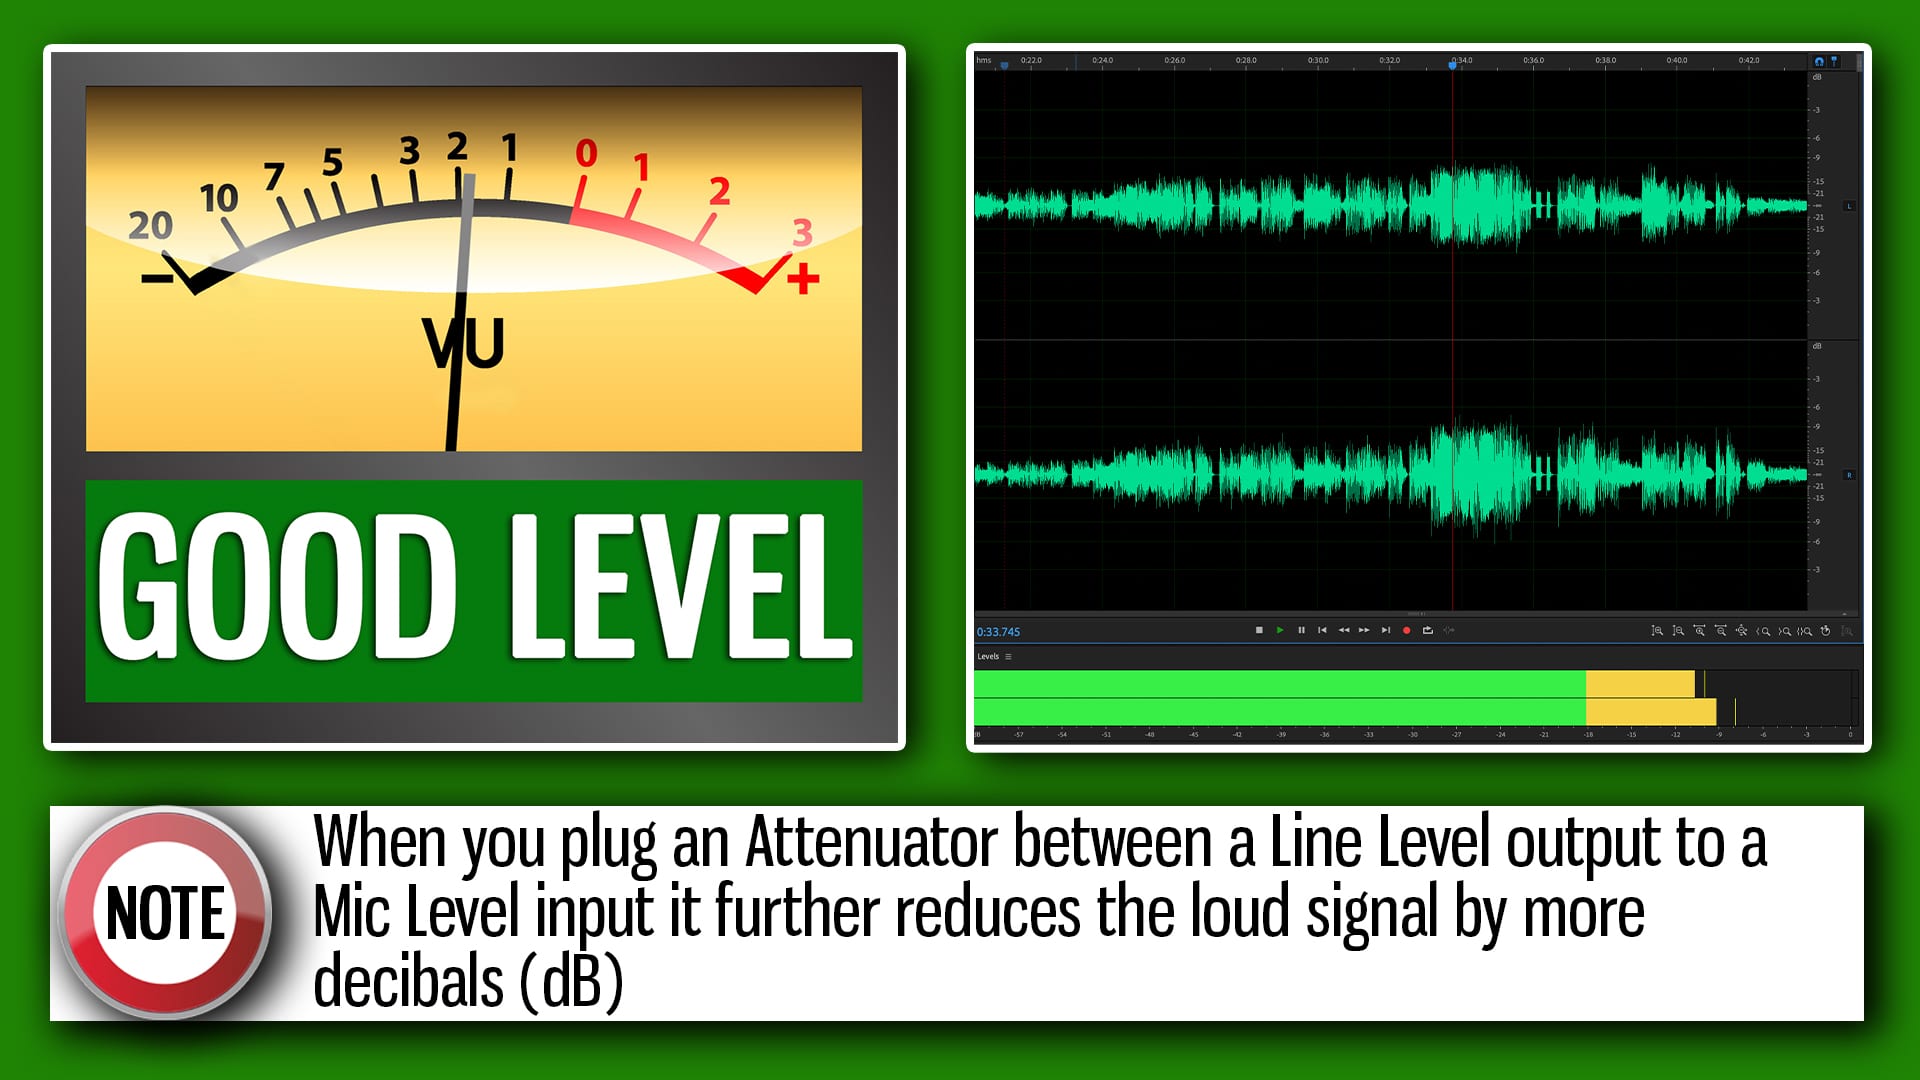
When audio coming in reaches its maximum level / amplitude (or close to) on sound meters or a Zoom H4n, as seen in the image below, then you’ve run out of headroom which will in most cases result in Audio Clipping. In other words, the audio is being crushed and will sound distorted. The signal coming is is too hot for the mixer or device to handle. Essentially the signal “cuts” or “clips” when the audio signal hits it’s maximum capacity. See Waveform images below.
[su_heading style=”flat-dark” size=”30″ margin=”0″]What causes Audio Clipping / Distorting?[/su_heading]
In short, an overloaded signal being sent from the amplifier to the audio mixer or recording device.
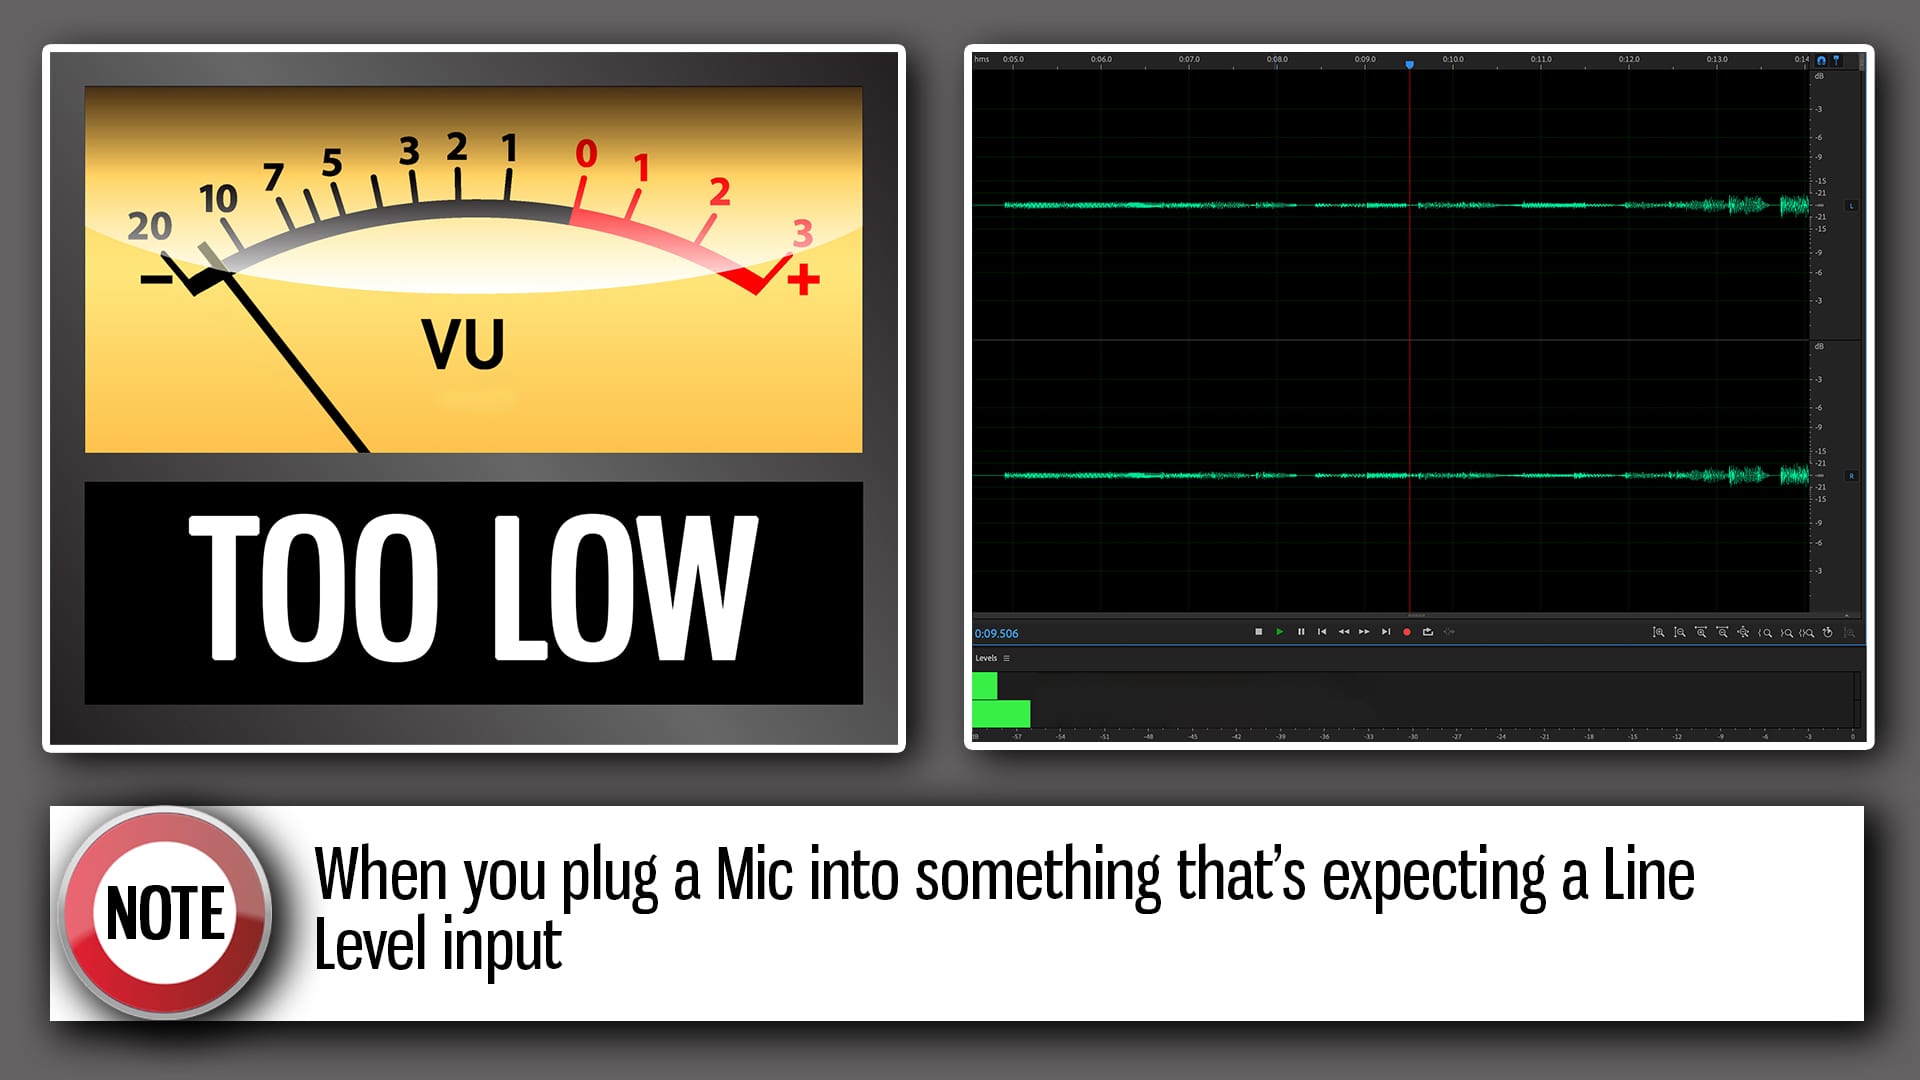
The Waveform images below show when and how the audio is too high and too low, both situations you don’t want to be in!
[su_highlight background=”#a5190b” color=”#ffffff”]ANSWER[/su_highlight] With an Attenuator
Audio Attenuators essentially lower the volume / amplitude of audio and are defined in a number in decibels, This reduction in the wave amplitude really helps if you’ve connected a Line Level output to a Mic input as shown in this article.
By the way, Clipped Audio cannot be fixed completely in post. Small issues can be ‘fixed’ but even this is hit and miss. This best way I’ve found, along with many others I’ve shown this method to, is to prepare the audio setup before recording anything. It’s a really easy method and you can read the steps below on this.
Below you will see what the waveform amplitude looks like when an Attenuator is connected to an XLR cable.
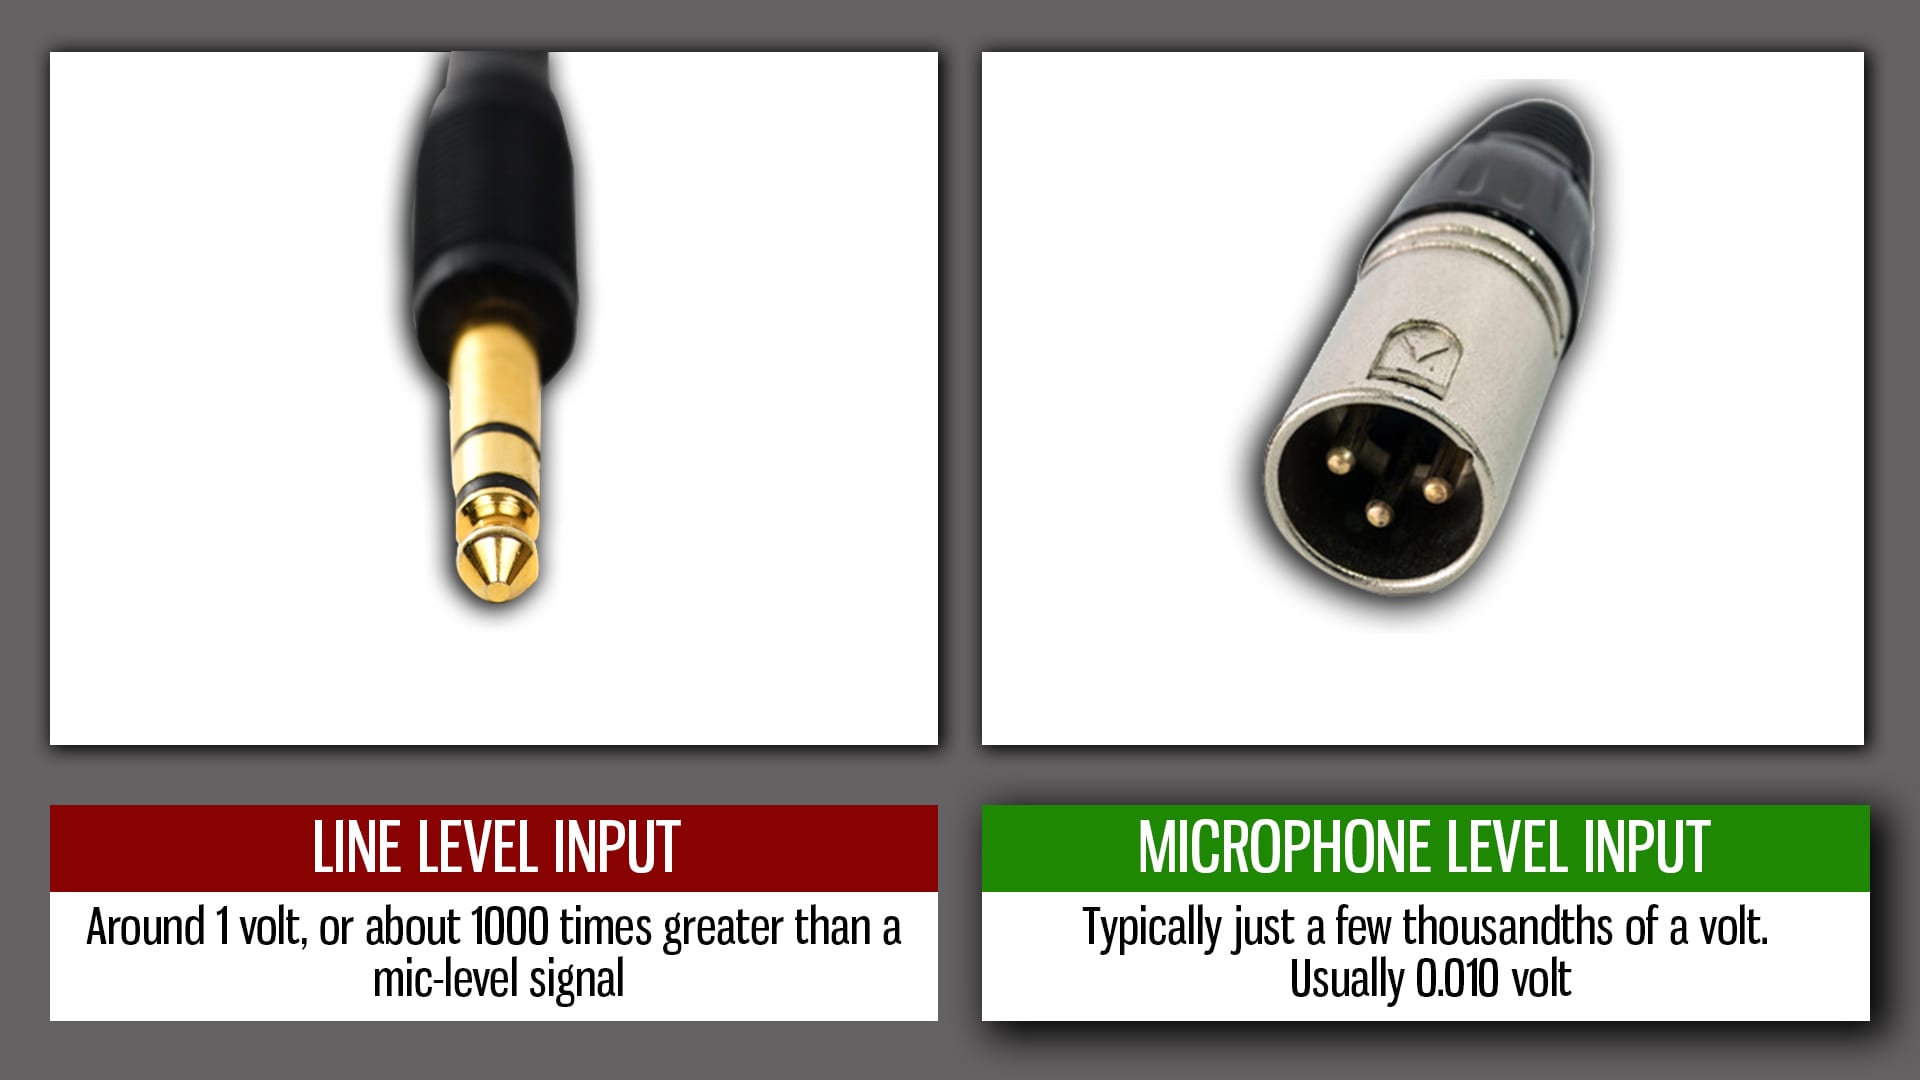
This is crucial as a Line Level cable uses greater voltage than a mic-level signal, around 1,000 times greater compared to a Microphone Level input which uses 0.010 volts. See images below. Please watch the video where Curtis Judd explains how to
Record Live Event Sound from a Mixing Board
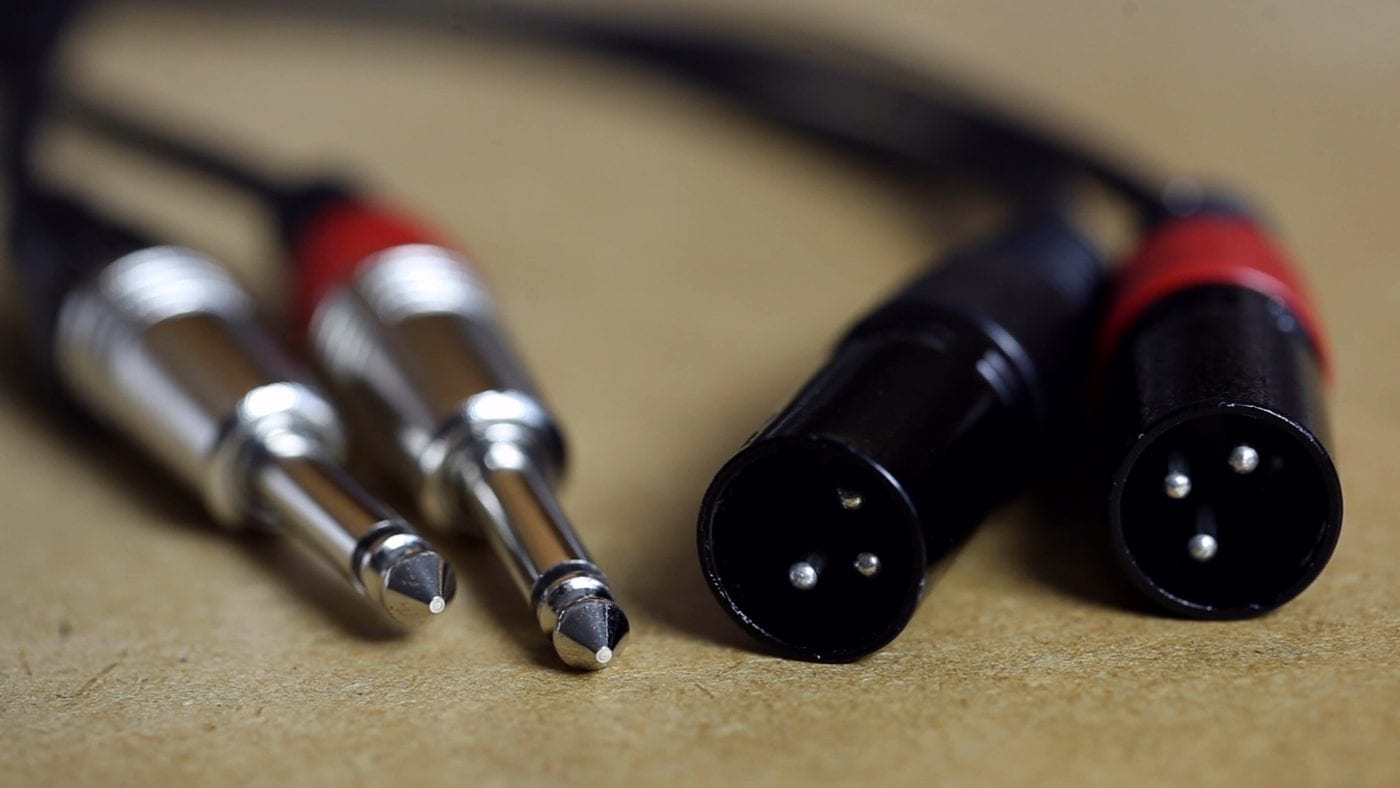
So, getting a Line Level TRS (or RCAs) to XLR cables and just plugging them into the Zoom H4n will give you clipping / overload issues. You need to attach things in front of the XLRs to avoid this. Those things are Attenuators as shown below.
You can use any of the two types of connectors (TRS or RCA) incase one is used up on the mixer. Then plug those into the Attenuators and the Zoom H4n.
Also, I have never experienced any difference in signal / sound quality when using either connectors.
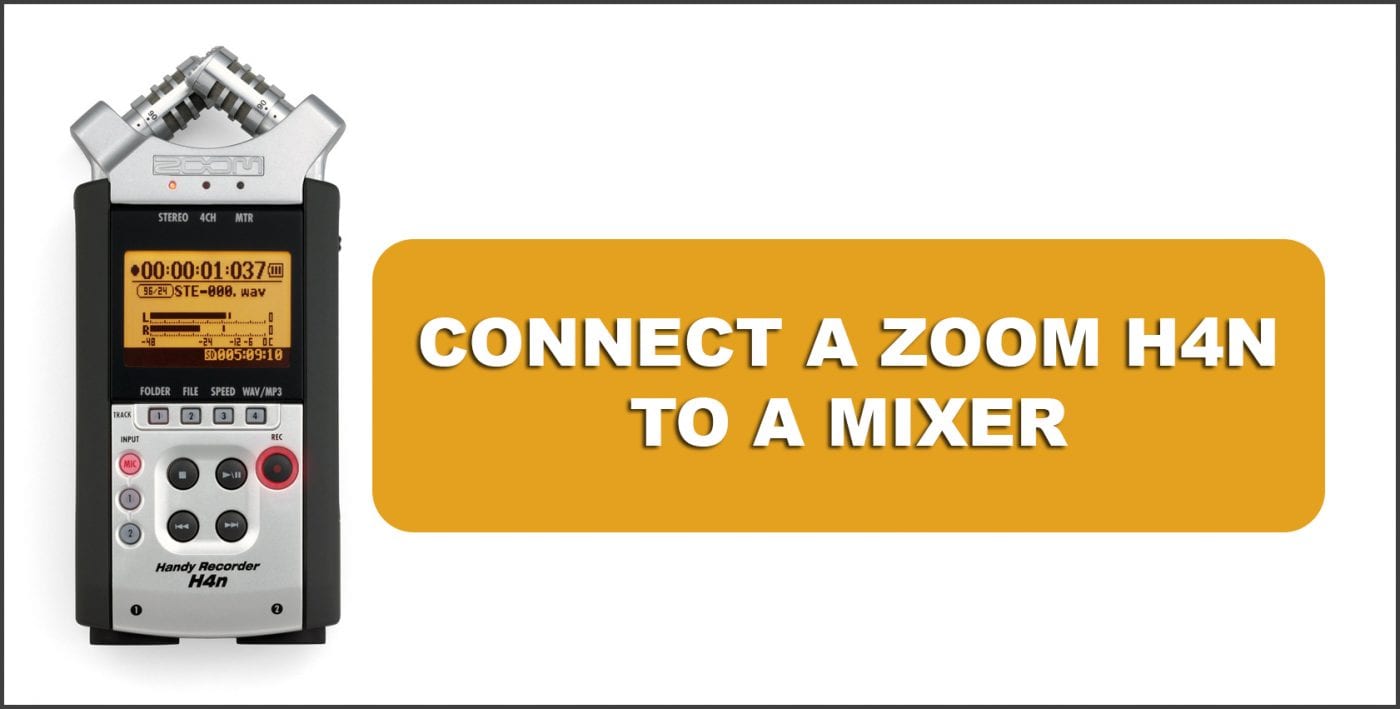
[su_heading style=”flat-dark” size=”24″ margin=”0″]STEPS FOR CONNECTING THE ZOOM H4N TO A MIXER[/su_heading]
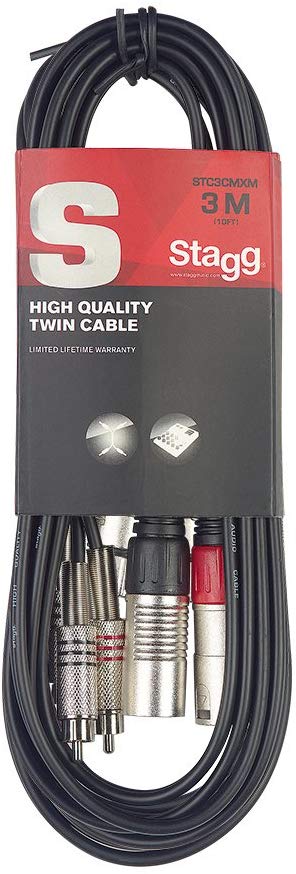
 Cable 1: TRS to XLR cable
This Line Level 1/4″ TRS cable is needed to use the Aux Sends on the audio mixer

Cable 2: RCA to XLR cable
This Line Level RCA cable is needed to use the Tape Outs on the audio mixer
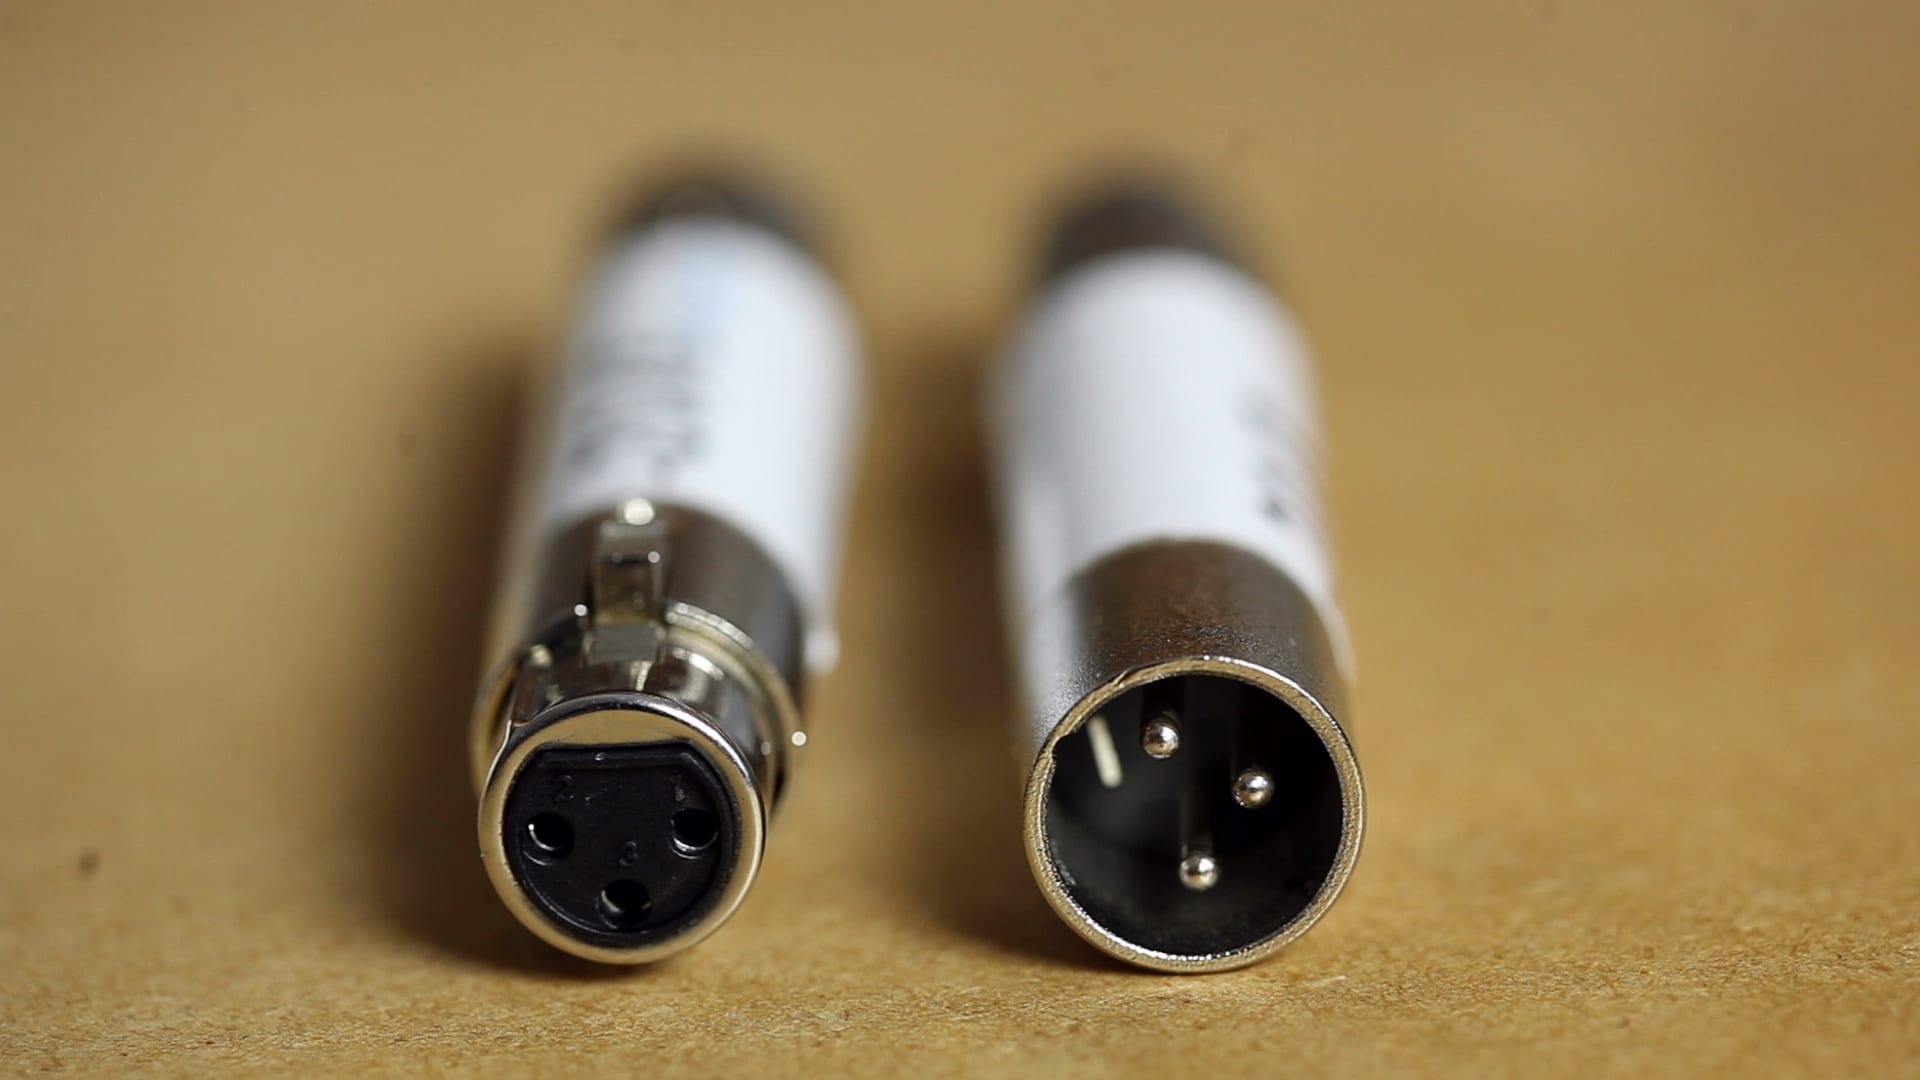
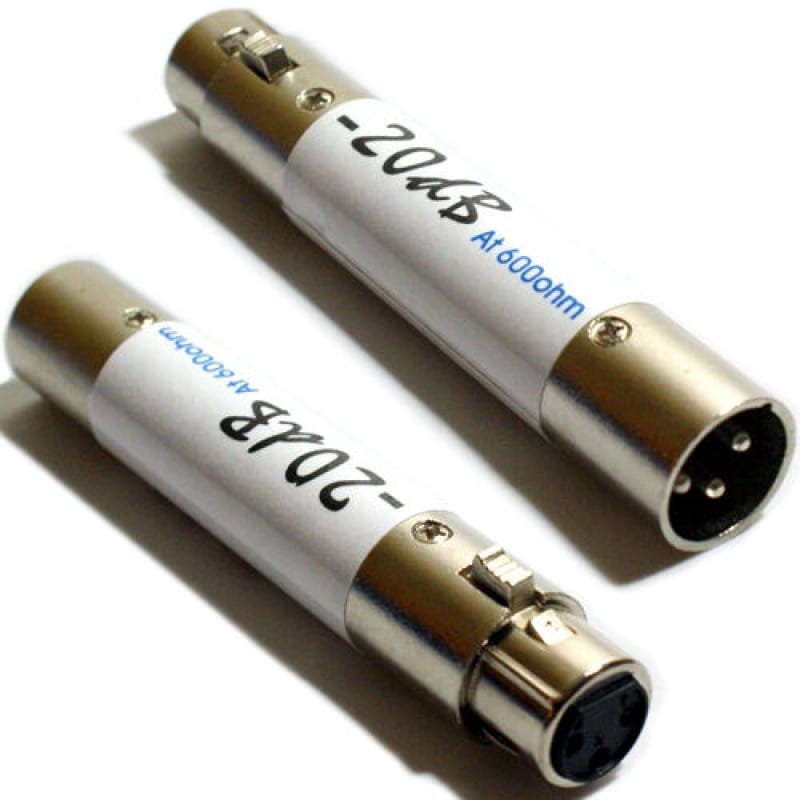
 -20 DB Attenuators
These are needed to LOWER the volume / amplitude of audio and are defined in decibels
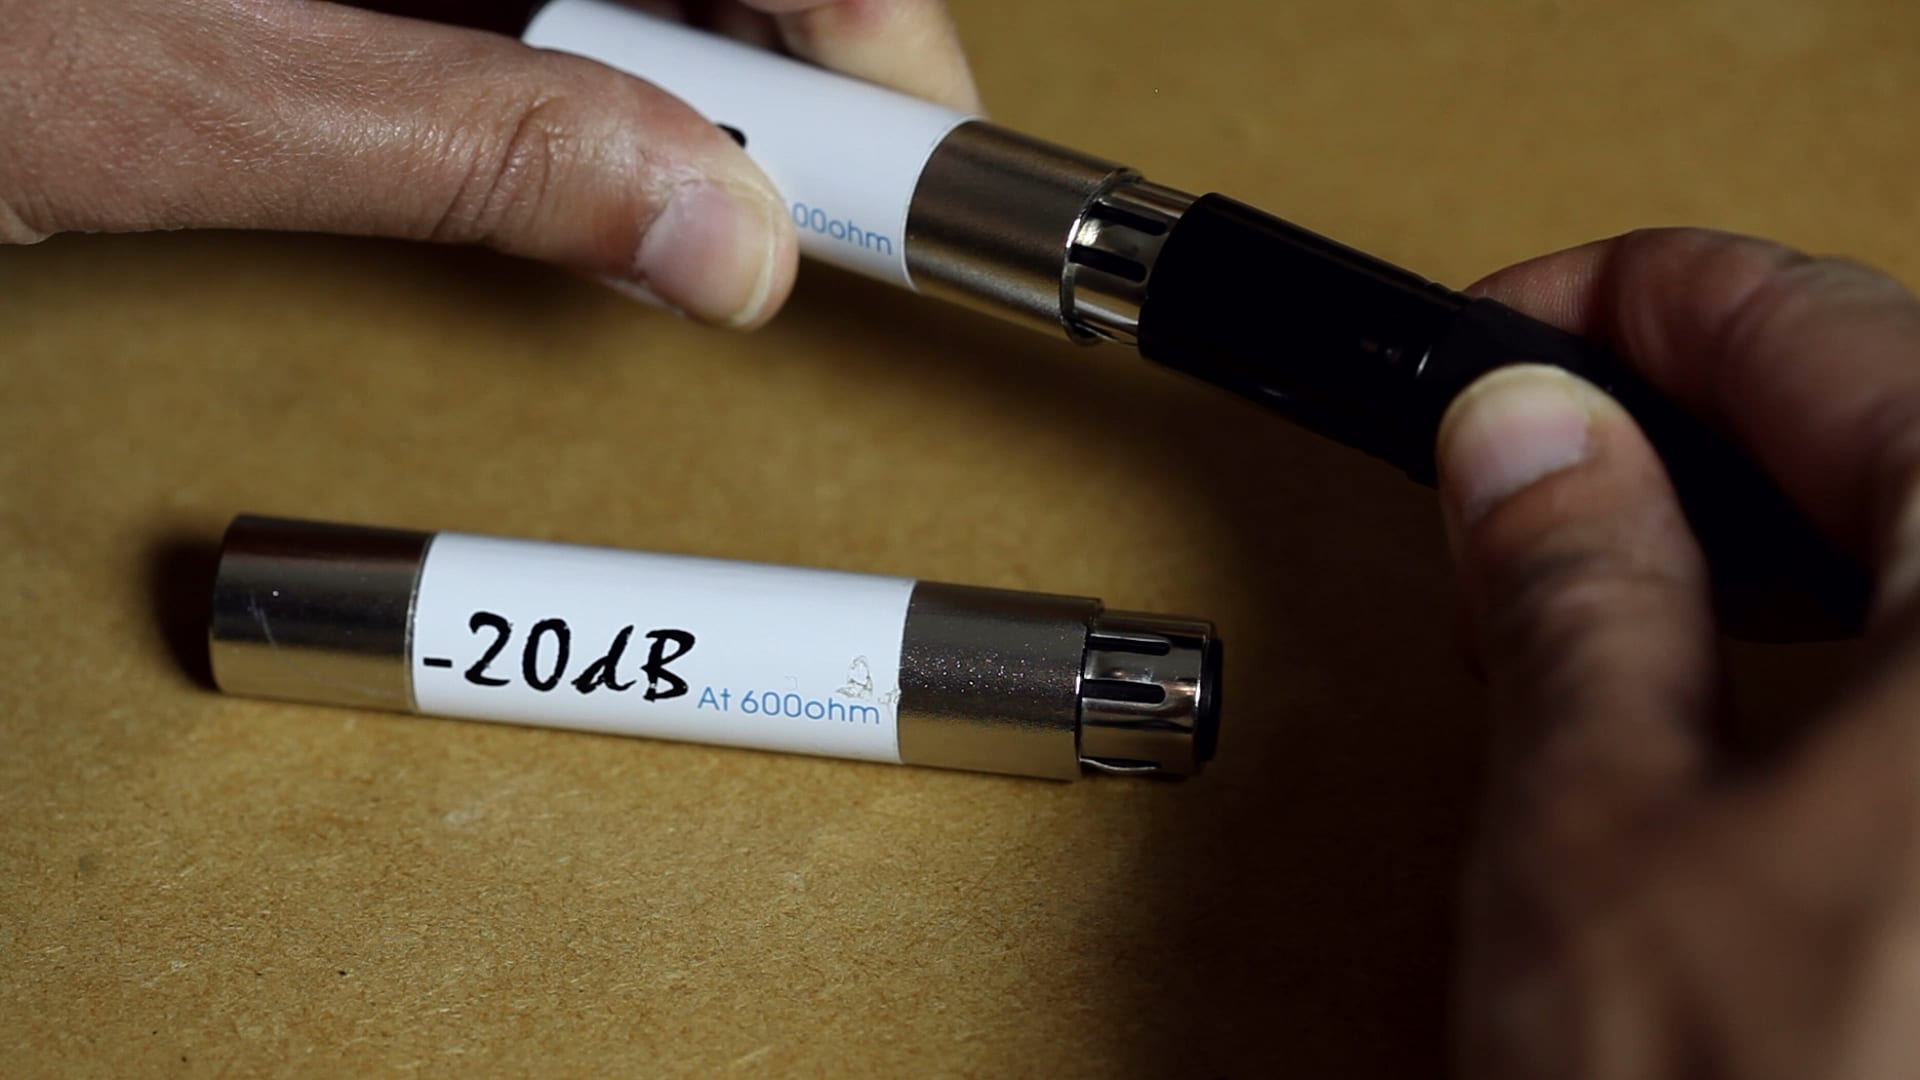
 Fix Attenuators on TRS or RCA cable
This setup will now reduce the volume / amplitude of the audio recorded into the Zoom H4n
To read about how to Connect a Zoom H1 to a Mixer click here OR click on the image below

 Cable 1: Insert the TRS cables into the Aux Sends of the Mixer
The audio level can be adjusted using the Master level of the Aux Send
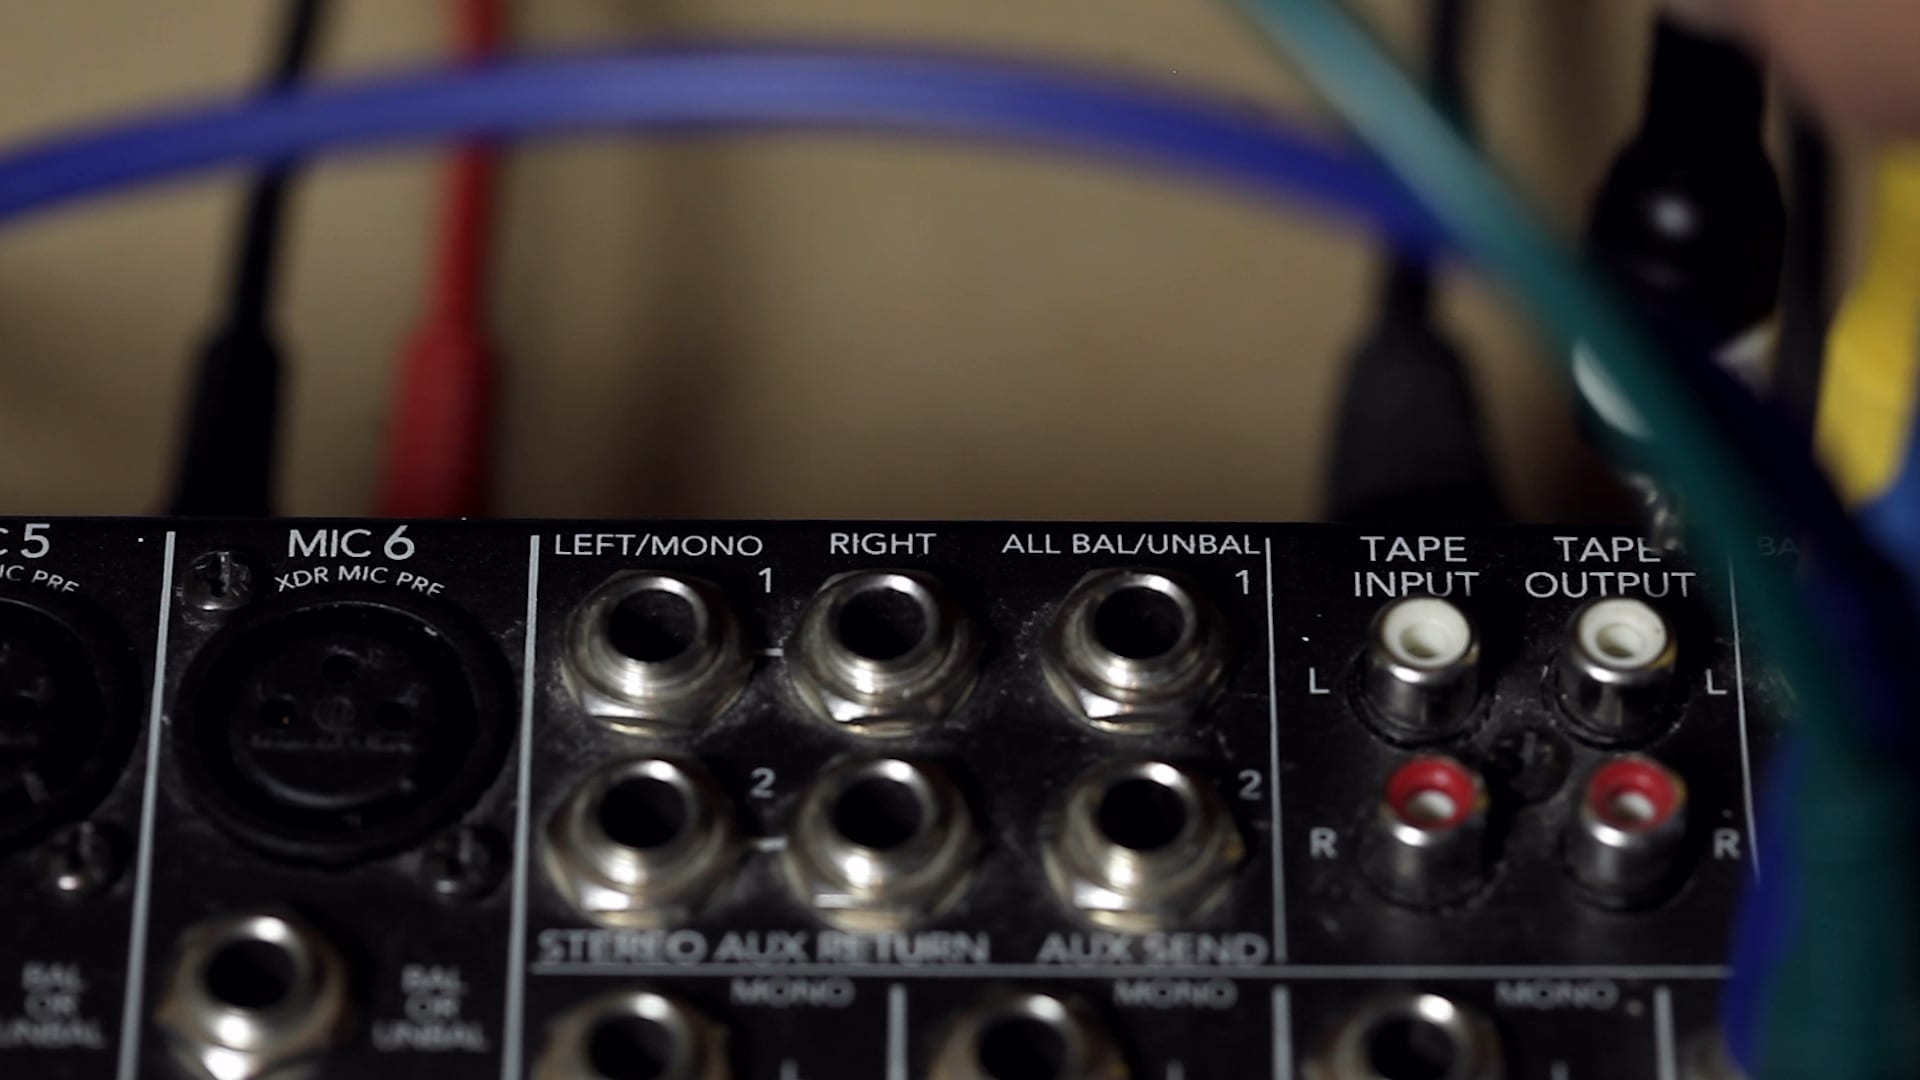
Cable 2: Insert the RCA cables into the Tape Output of the Mixer
As the Tape Out is a fixed output, the incoming audio level is adjusted on the Zoom H4n inputs
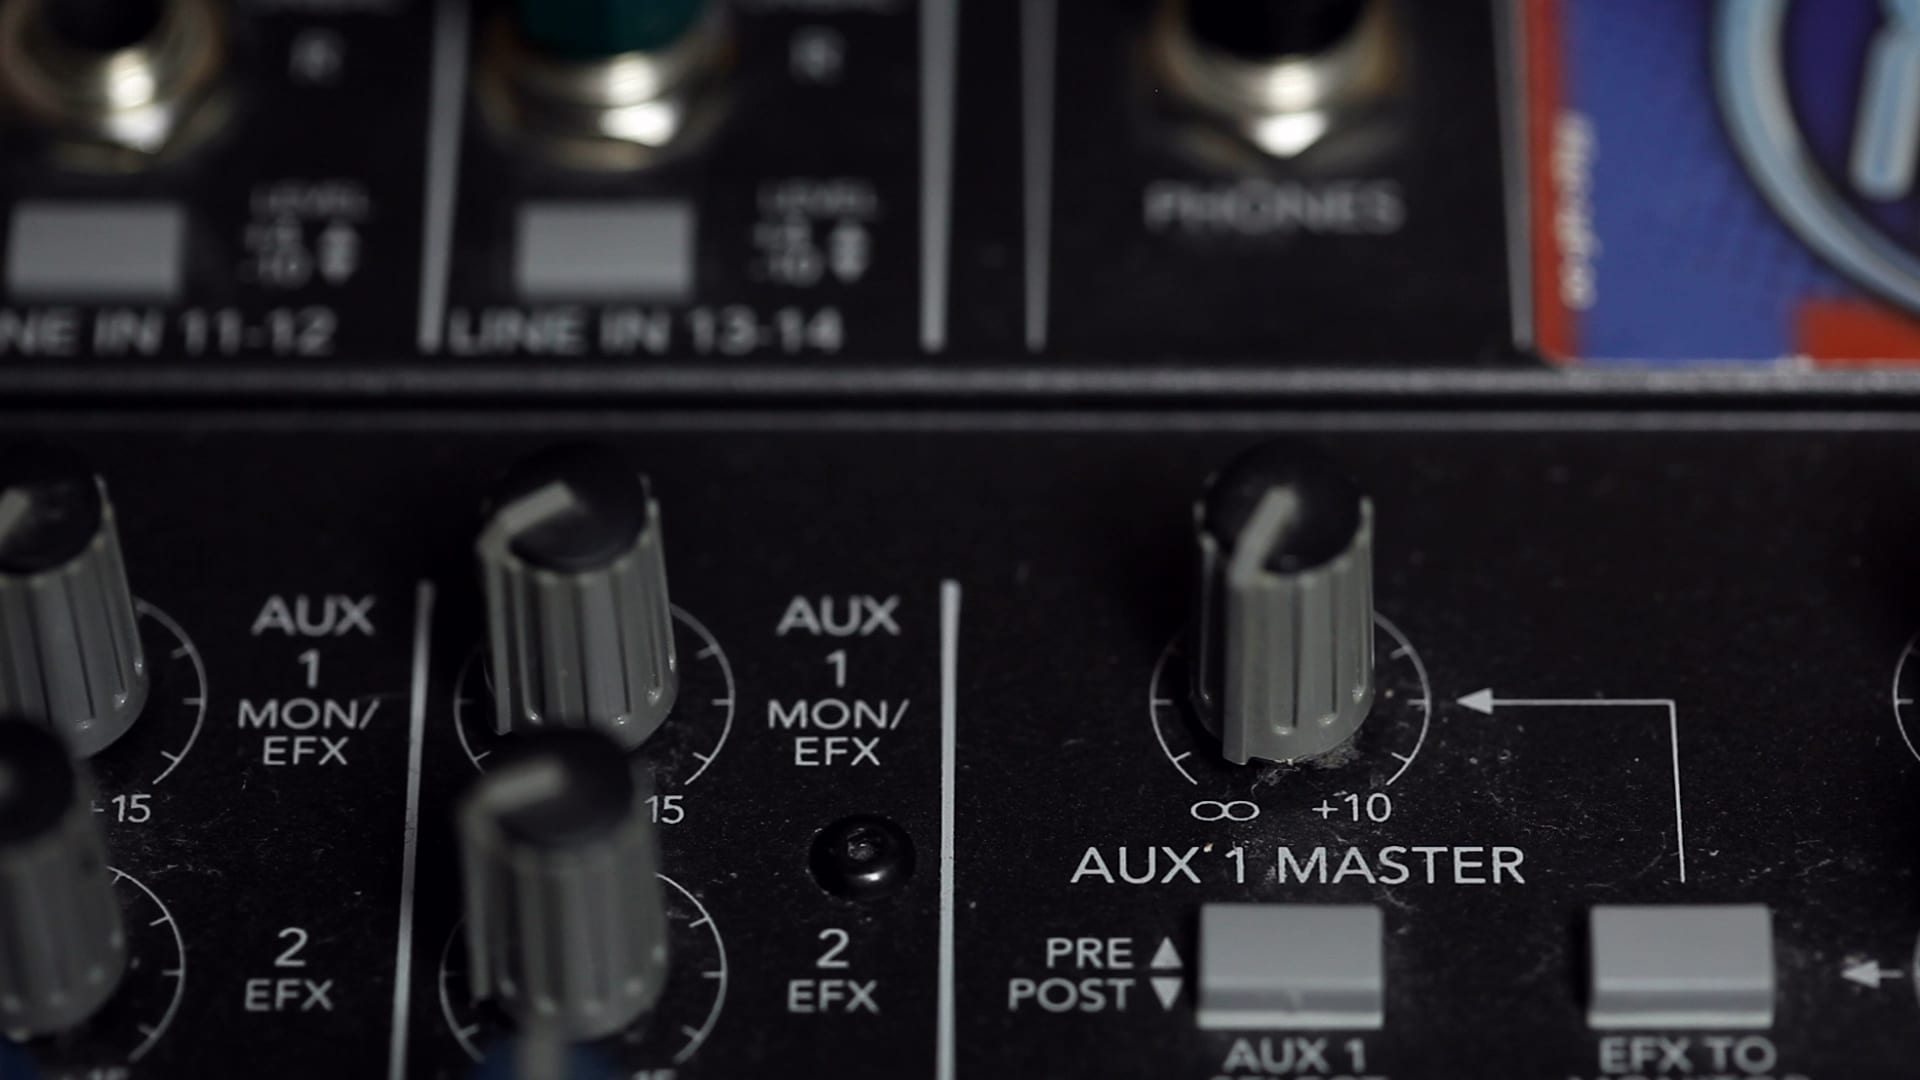
 Adjust the Aux Master
This is the Master volume control for the Aux Send
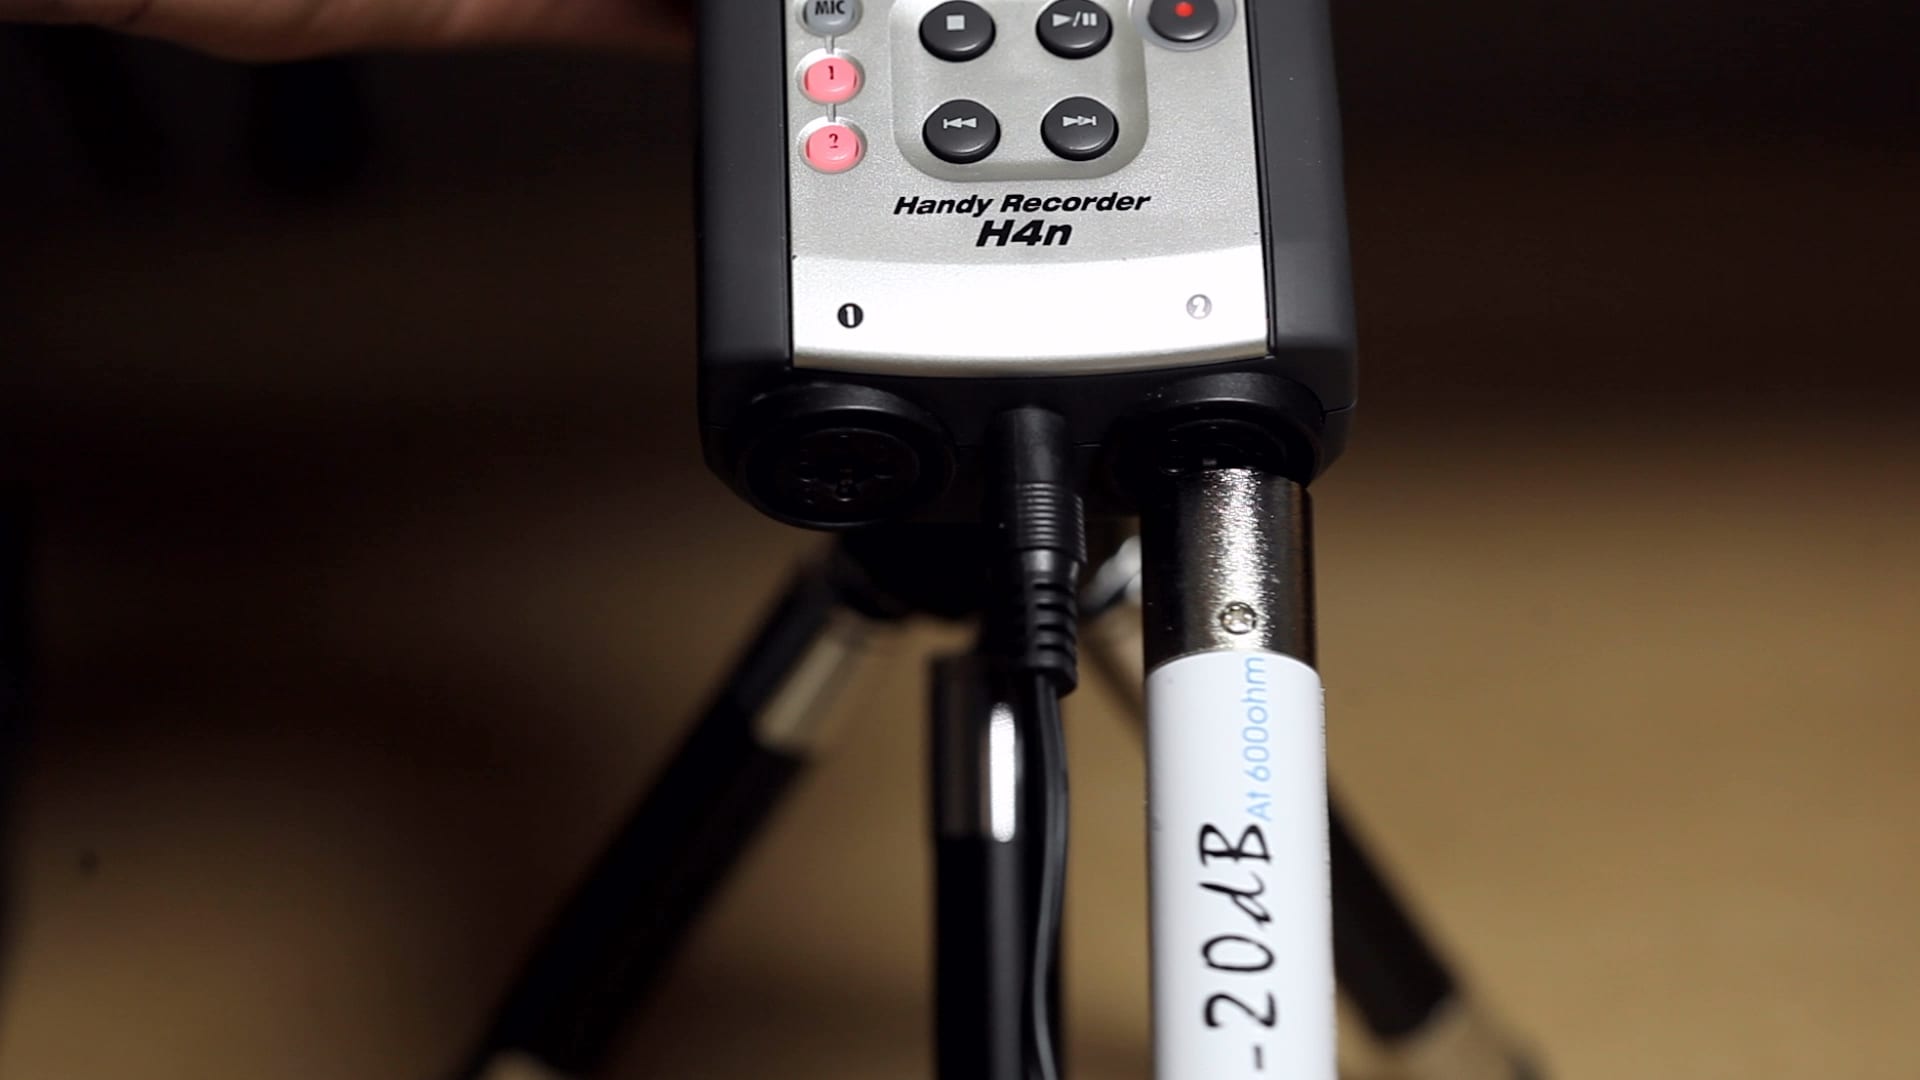
 Insert the Cables with Attenuators into the Zoom H4n Inputs
Make sure cable Left and cable Right are in the correct inputs
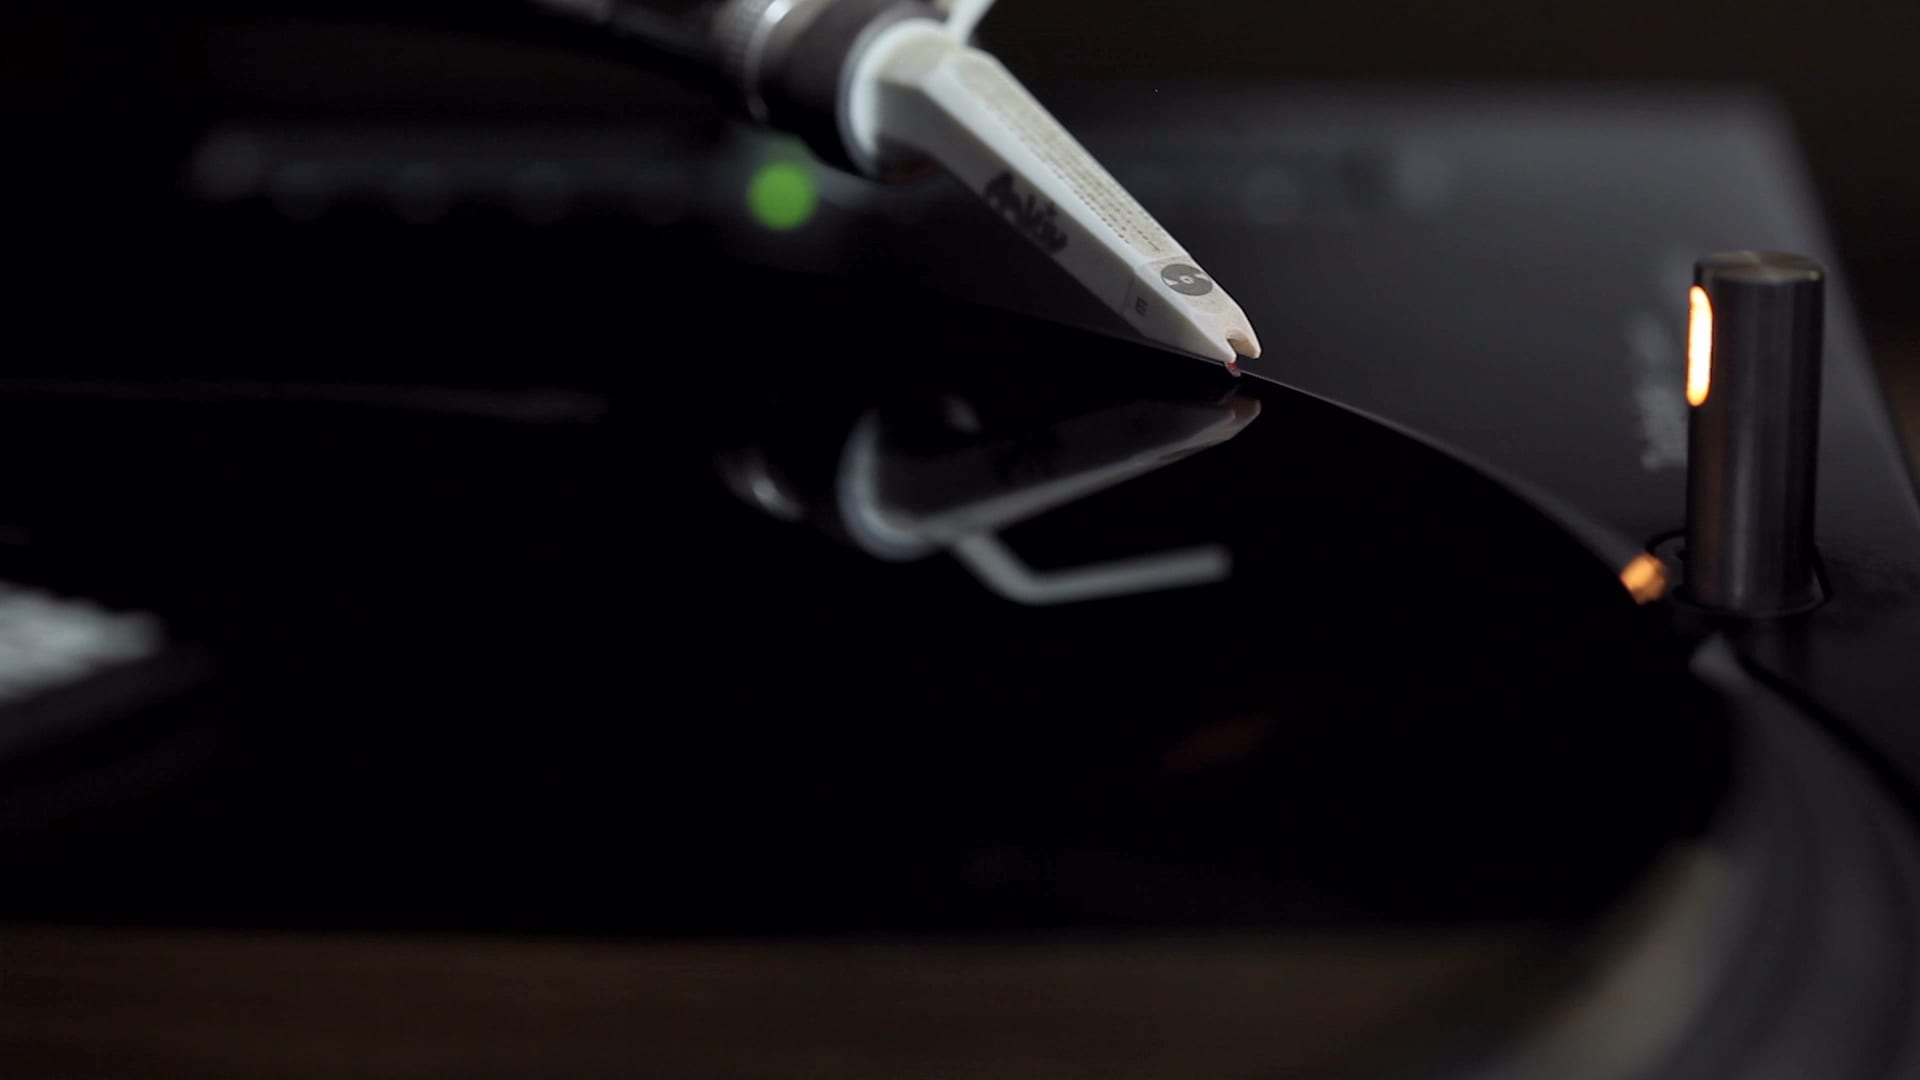

Play Audio to record
Whether it’s a vinyl or CD
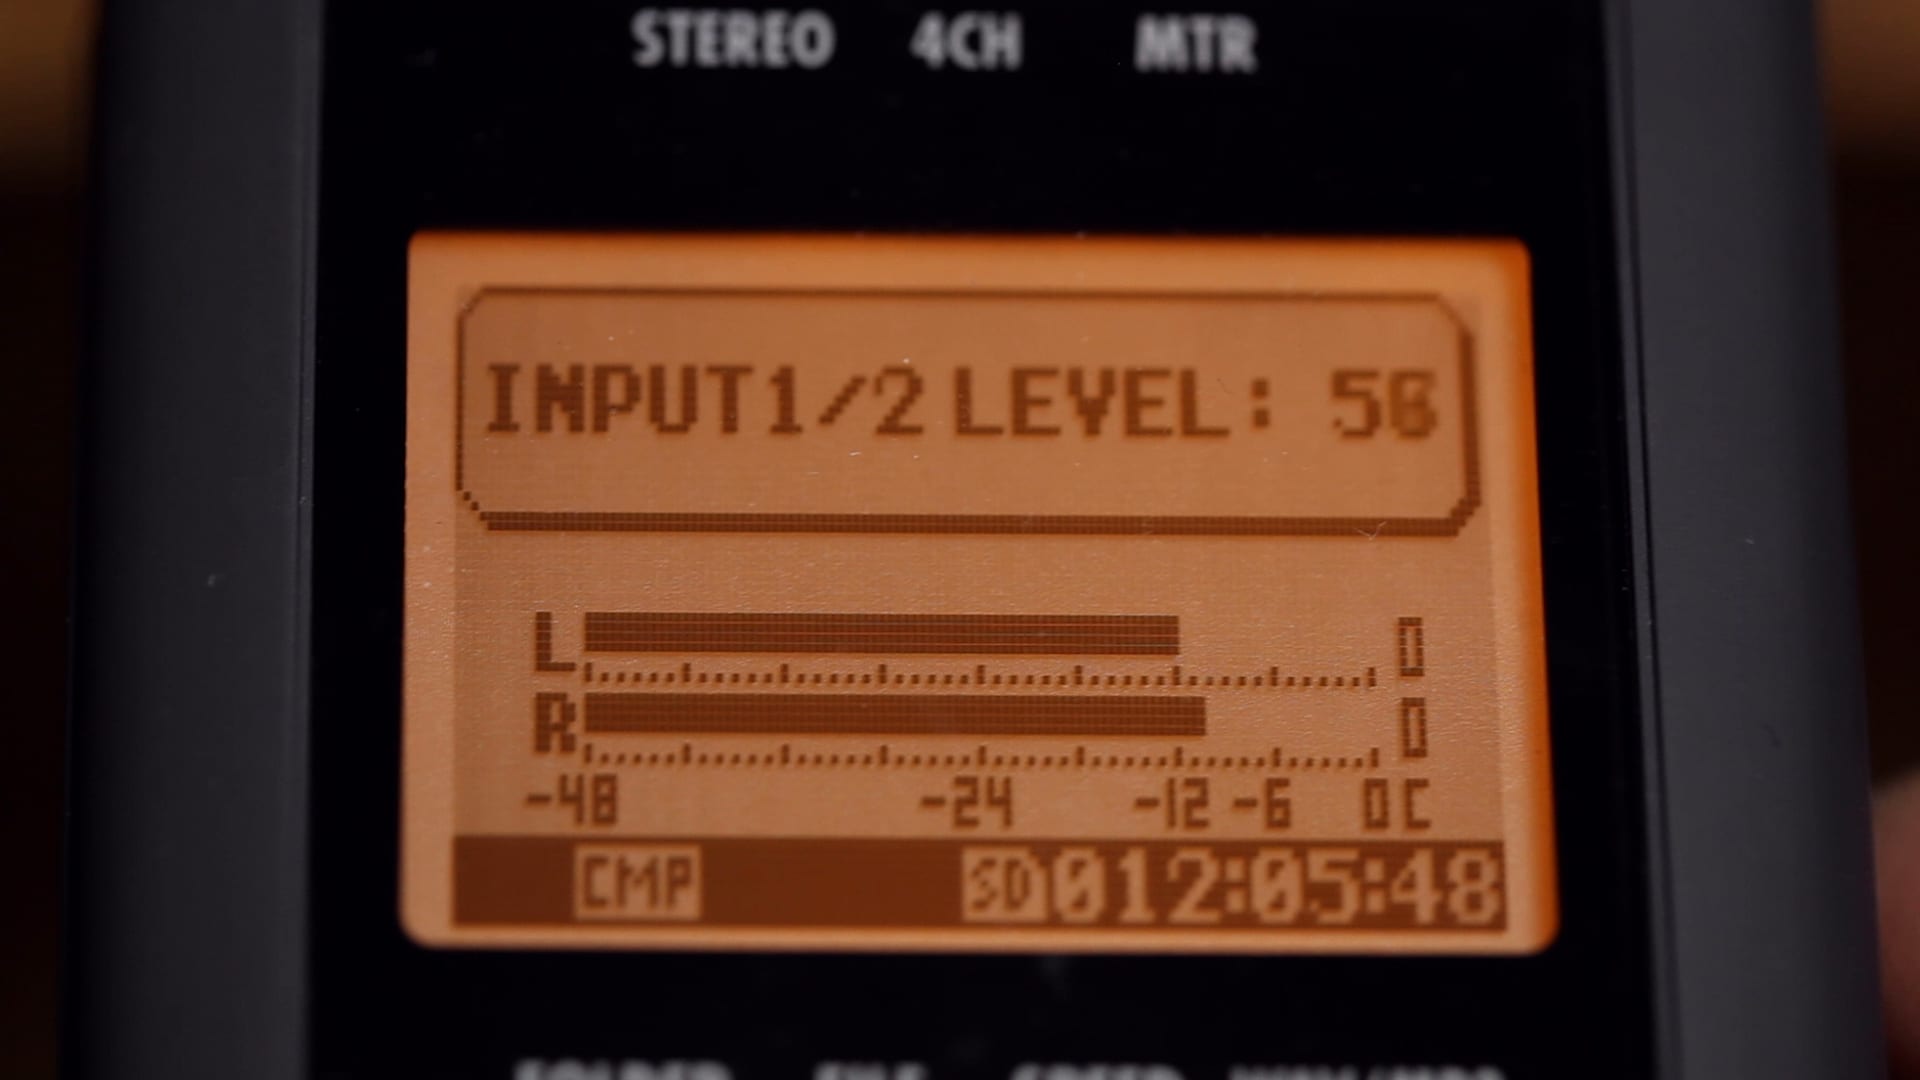

Check the Input levels on the Zoom H4n
Keep it as close to -6db so there is plenty of headroom

Please make sure you buy 2 X TRS to XLR cables and 2 X Whirlwind IMP Pad -20 DB (Attenuator).

Please make sure you buy 2 X RCA to XLR cables and 2 X Loops -20 DB (Attenuator). Some items are listed incorrectly.
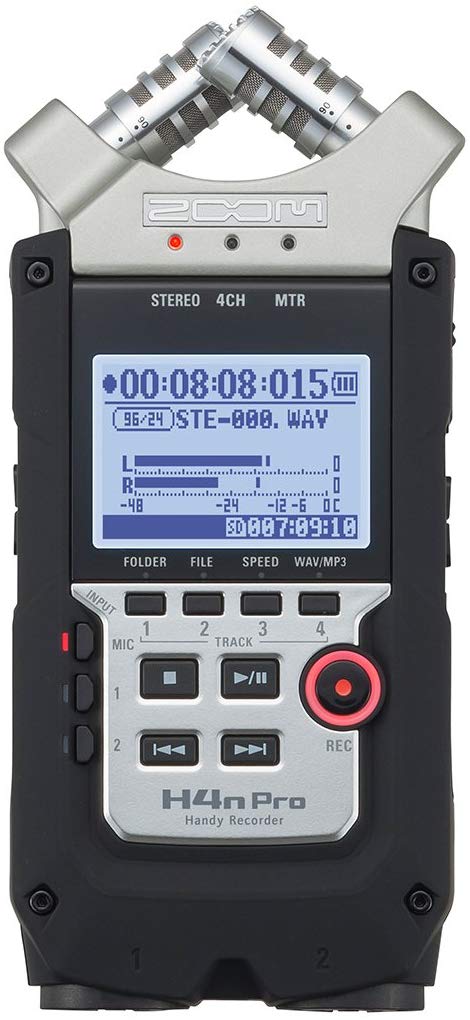
Zoom H4n Pro

Jack to XLR Leads
RCA to XLR CableS